
Because it was like skateboarding, I added some effects on Premiere to make it look like it was filmed witha a fisheye lens. This made the video look more fitting.
After this it was time to start planning our full photomations. I firstly started a document and listed some features that I wanted my video to have. These were:
-around 60 seconds in length
- add titles and colours grading when editing
-include skateboarding, certain music I like & photos I've taken
I also did a blog post researching how I want to present my video, and what size/ratio it will be. I decided to make it square so it can be posted both online on platforms like Vimeo and YouTube, and on mobile on Instagram.
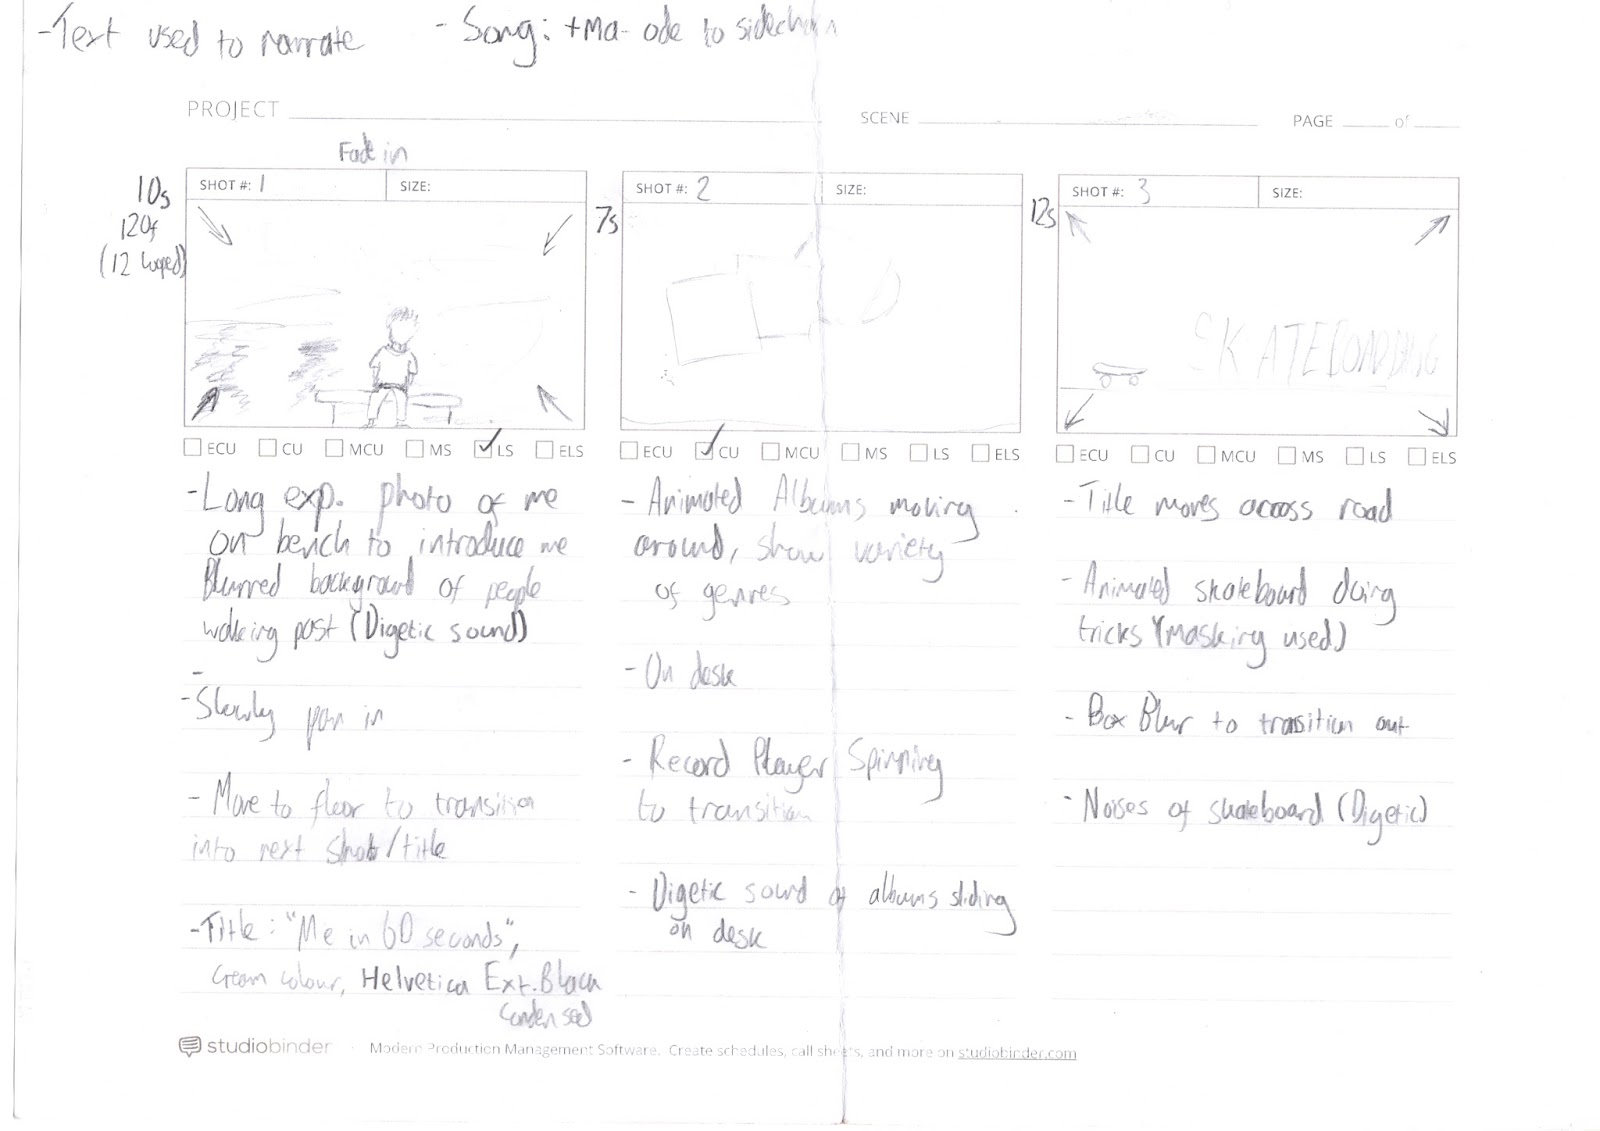
After this I drew up a storyboard:


When it came to the final edit, some of the shots I storyboarded didn't make it as when making my photomation I experimented and tried to make an effective video with the things I had available to me. During shooting, I used a tripod to get some interesting birds eye view angles. I also used a tripod for other shots to make sure that the photomation wasn't shaky. I used a bridge camera with manual settings to ensure that the lighting stayed as consistent as possible in shots. If I was to do this again I would've used a DSLR for better looking images, with a high aperture. After I had taken all of the photos it was time to edit them together.
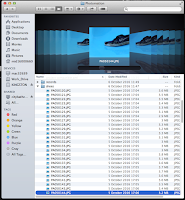 Firstly I arranged the different shots into folders so I could import them into Premiere as individual image sequences. At this stage I also deleted any bad photos and did some masking using Photoshop. This was for a shot where I made my skateboard appear to do tricks and essentially 'float'.
To do this I imported a photo of the skateboard on top of a jar so it was raised and then on another layer imported a background with no skateboard on. I then used the eraser tool to remove the jars. Lastly, I adjusted the Brightness/Contrast of the background layer so everything blended in. I did this for about 10 frames.


I Then composited the whole project in Premeiere Pro, arranging the clips alongside the music and adjusting the speed of some clips. I added titles to help narrate the video, as noted in my plan and storyboard using the Titles feature in Premiere Pro. The text looked boring at first and I wanted to give it some creative flair to make it look more interesting. Therefore I added a stroke and drop shadow to it, and changed the text colour from white to a range of pastel colours. I also changed the font. As the film is meant to represent me, I made the text look appealing to me.
In Adobe Premiere I also touched up each shot by adding an adjustment layer to each one.

 After this, I had a section in the video where it says I take photos, and here I wanted to insert some photographs I've taken. I did this, but they didn't fit with the flow of the video as they were still and made it look a bit boring. Therefore I used photoshop to split them up between the foreground and background. I did this by cutting out the foreground subjects with the lasso tools and bringing them to sepereate layers. After this the original image had gaps in so I used content aware fill to fill in the gaps. Lastly, I touched up the gaps with the spot healing brush tool and clone tool. The background still looked a bit scruffy for a couple of images so I applied a gaussian blur to soften it.


I also did a blog post researching how I want to present my video, and what size/ratio it will be. I decided to make it square so it can be posted both online on platforms like Vimeo and YouTube, and on mobile on Instagram.
After this I drew up a storyboard:

When it came to the final edit, some of the shots I storyboarded didn't make it as when making my photomation I experimented and tried to make an effective video with the things I had available to me. During shooting, I used a tripod to get some interesting birds eye view angles. I also used a tripod for other shots to make sure that the photomation wasn't shaky. I used a bridge camera with manual settings to ensure that the lighting stayed as consistent as possible in shots. If I was to do this again I would've used a DSLR for better looking images, with a high aperture. After I had taken all of the photos it was time to edit them together.
 Firstly I arranged the different shots into folders so I could import them into Premiere as individual image sequences. At this stage I also deleted any bad photos and did some masking using Photoshop. This was for a shot where I made my skateboard appear to do tricks and essentially 'float'.
To do this I imported a photo of the skateboard on top of a jar so it was raised and then on another layer imported a background with no skateboard on. I then used the eraser tool to remove the jars. Lastly, I adjusted the Brightness/Contrast of the background layer so everything blended in. I did this for about 10 frames.


In Adobe Premiere I also touched up each shot by adding an adjustment layer to each one.

In this adjustment layer I added the effect 'Three Way Colour Corrector'. This allowed me to adjust the hues of the shadows, midtones and highlights. It also can adjust the input and output levels and saturation.


Once I was done, I ended up with a layer for each subject in the foreground, and a background image. I did this for three photographs then moved onto Adobe After Effects.
In After Effects, I dragged in my seperated photographs (saved as .psd's) and put them into a new composition. I then used keyframes to change the scale of the background layer, and scale/position of the subject layers. This gave a 3D photo effect which made it look like the photograph was moving and I found it really effective and proffessional looking. I rendered the After Effects composition into a 5 second video for each photograph.

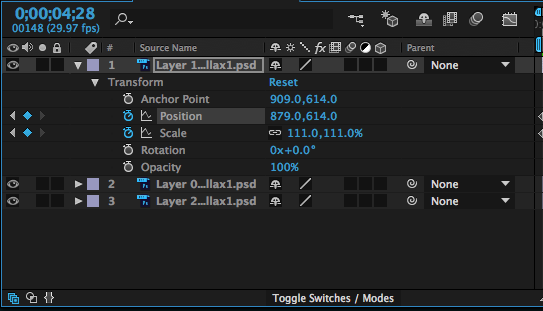
 |
| Keyframing my 'Photo Parallax' in After Effects |

Lastly, I rendered my video. It was a bit confusing, but as I was familiar with this process I managed to pick the right settings so that my video exported correctly in the best quality. I picked the H.264 format and made sure that the frame size was the same as my project (1280x1280).

If I were to do this again, I would have spent more time planning in order to achieve some more interesting shots with some variety. I'd also use a better camera with some shots that look stylish (e.g. using a shallow depth of field/long exposures). Maybe I would try to shoot at some different, cool looking locations too. The audio worked well I thought, however I could narrate with my own voice which is also something else to consider if I were to do this again.
The video fits well in the YouTube player and would also work well on Instagram if I decided to post it on there.
No comments:
Post a Comment